RV Roof Resealing: Preventing Water Damage Before It Starts
Ask any veteran road-tripper, and they’ll tell you the same thing: water is your rig’s absolute worst enemy. Whether you're driving a luxury Class A motorhome or towing a lightweight travel trailer, a microscopic tear in your roof's protective layer is all it takes for rainwater to quietly seep in and destroy your walls, ceiling, and subflooring. By the time you spot a water stain inside your living space, the structural damage is already done. Wood rot, ruined insulation, and toxic mold growth are highly expensive to fix.
At Mainline RV & Truck Service, we perform expert RV repair and motorhome repair service. We see firsthand how fast a neglected roof destroys a great vehicle.
Protecting your investment is straightforward. You must understand how your roof seals, know how to inspect it, and ensure it gets resealed before a leak begins.
Why Annual Inspections Cost Less Than Major RV Repair
Most RV manufacturers recommend inspecting your roof seals at least twice a year. If you park your rig under trees or travel through areas with extreme temperature shifts, you should check it even more often.
Putting off these quick inspections to save a little time almost always backfires.
- The Cost of Prevention: A routine roof inspection and minor sealant touch-up is a basic maintenance expense. It takes a couple of hours and uses relatively inexpensive materials.
- The Cost of Neglect: If water penetrates your roof membrane, it rots the thin plywood decking underneath. Eventually, the entire roof must be peeled off, the wood replaced, and a new membrane laid down. This level of camper repair can easily cost thousands of dollars.
Being proactive pays off. It keeps hard-earned cash in your pocket and ensures your rig stays out of the shop when you should be out enjoying camping season.
Spotting "Alligatoring" and Cracks in Old Sealant
Of course, catching a leak early means knowing exactly what to look for once you're up on the roof.
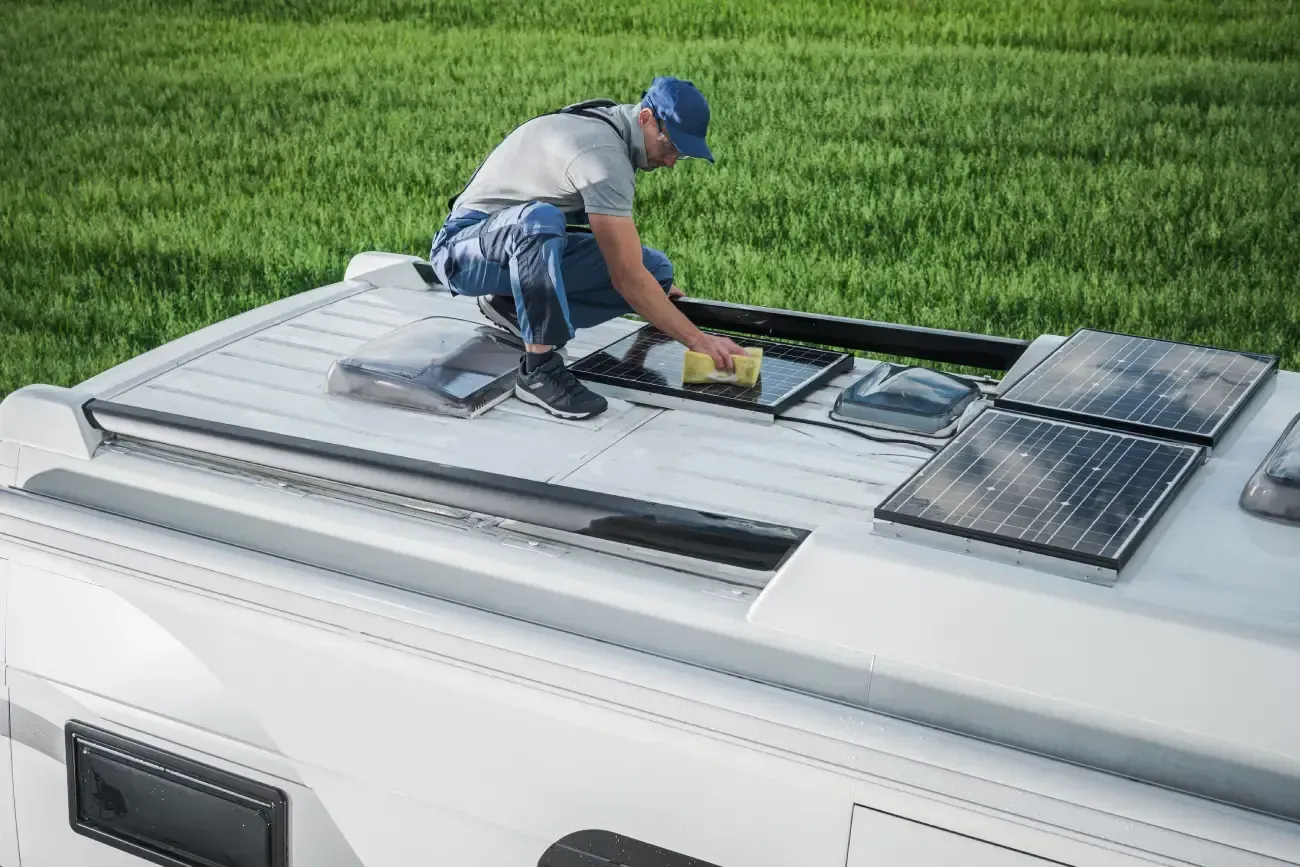
When you climb up to inspect your roof, pay close attention to the joints. These are the areas where the roof membrane meets the front and rear caps, side transition moldings, vent pipes, skylights, and your ladder mounts.
Watch out for these clear warning signs:
- Alligatoring: This is when the surface of your self-leveling lap sealant dries out, shrinks, and cracks in a pattern that resembles alligator skin. It means the oils in the sealant have dried out from solar exposure.
- Deep Cracking: Look for deep splits that go all the way down to the metal or plastic flange underneath.
- Peeling and Lifting: Gently press the edges of the sealant. If it lifts away from the roof membrane easily, water is already bypassing it.
- Pinholes: Small, bubble-like holes can form as sealant cures or ages, creating a direct path for moisture.
If you notice any of these signs, the old sealant must be cleaned, prepped, and resealed.
Lap Sealant vs. Tape: The Right Materials for EPDM and TPO Roofs
You cannot grab a tube of cheap silicone from a local home improvement store and apply it to your RV roof. Silicone does not stick well to RV roof membranes and will peel off quickly under highway wind pressures.
Most modern RVs use one of two rubber-like membranes:
- EPDM (Ethylene Propylene Diene Monomer): A synthetic rubber membrane.
- TPO (Thermoplastic Polyolefin): A blend of rubber and plastic polymers.
Choosing the right sealants for these specific materials is vital to avoid chemically damaging your roof.
Self-Leveling Lap Sealant
This is the thick, liquid sealant used on flat, horizontal roof surfaces. When applied around vents, pipes, and skylights, it slowly spreads out and flattens to form a watertight barrier over screws and seams.
- For EPDM and TPO: Use high-quality, brand-name lap sealants specifically rated for RV rubber roofs (such as Dicor 501LSW).
- Never use silicone: Silicone leaves a residue that prevents any future RV sealant from bonding to the surface.
Non-Sag Sealant
On vertical surfaces, such as the side seams of your roof or around the top of your entry door, you must use non-sag sealant. This formula is thicker and stays exactly where you put it without running down the side of your RV.
Micro-Sealant Tape
Heavy-duty adhesive tape is excellent for long, straight seams, like the transition area where your roof membrane meets your front or rear fiberglass caps.
- The Pros: It creates an incredibly durable, long-lasting barrier that resists sunlight damage better than liquid sealants.
- The Cons: It is highly permanent. If you ever need to replace a vent or skylight in the future, removing micro-sealant tape is extremely difficult and can tear your roof membrane if done incorrectly.
AC Gaskets: A Hidden Source of Ceiling Leaks
Many RV owners carefully seal every vent and pipe but still end up with a wet ceiling. The culprit is almost always the air conditioner gasket.
Your roof-mounted air conditioner does not use liquid lap sealant or tape to stay watertight. Instead, it sits over a square opening in your roof and seals against a thick, square foam gasket.
This foam gasket prevents water from entering the cabin. Over time, several things can cause this seal to fail:
- Compressive Set: The heavy weight of the AC unit permanently squishes the foam over several years until it loses its springiness and fails to seal.
- Loose Mounting Bolts: RV air conditioners are held in place by four long bolts accessible from inside the RV (by removing the plastic ceiling assembly cover). Road vibrations can cause these bolts to back out over time. If the bolts loosen, the gasket relaxes, and rainwater will pour straight down your air ducts or drip from your ceiling shroud.
- Gasket Decay: Constant exposure to temperature extremes eventually causes the foam to rot and crumble.
If your AC mounting bolts are loose, tightening them gently can sometimes stop a fresh leak. However, if the gasket is old, compressed, or dry-rotted, the entire AC unit must be lifted so a new foam gasket can be installed.
Contact Mainline RV & Truck Service for RV Repairs Today
Let's be honest: hauling yourself onto an RV roof isn't everyone's idea of a fun Saturday. It’s tough physical work that involves balancing on slick surfaces, scraping away stubborn old adhesive without gouging the delicate rubber membrane, and trying to apply the new sealant before the weather changes.
If you are not comfortable working on your roof, or if your inspection reveals damage that is already too advanced for a quick DIY touch-up, let our professional team handle it.
Mainline RV & Truck Service is your trusted partner for high-quality motorhome repair service and camper repair. Our certified technicians have the specialized tools, safety equipment, and premium materials needed to inspect, prep, and reseal your RV roof correctly. We identify hidden issues before they turn into costly structural repairs, ensuring your rig stays dry and road-ready for your next adventure.
Don't wait for the next heavy rainstorm to test your seals. Contact Mainline RV & Truck Service today to schedule your professional RV roof inspection and resealing service!
Contact Us