How to Extend Your Generator’s Life: Maintenance Tips
Generators are an essential tool for RV enthusiasts, homeowners, and anyone relying on portable or backup power. Whether you’re powering appliances in your RV on a cross-country trip or ensuring your home stays functional during a power outage, your generator is the lifeline that keeps everything running smoothly. However, generators are only as reliable as the care they receive. Proper maintenance not only ensures the longevity of your generator but also prevents unnecessary expenses and inconveniences.
Let’s explore in detail the importance of Onan generator repair and maintenance. We will also give you some daily, weekly, monthly, and annual maintenance checklists to help you maximize your generator's performance and lifespan.
Why Generator Maintenance Matters
Your generator is an investment, and like any valuable equipment, it requires regular care to function at its best. Failing to maintain your generator can lead to a range of issues, from minor inconveniences like inefficient operation to major problems such as costly repairs or even total failure.
Regular maintenance helps prevent common problems, such as clogged filters, stale fuel, or worn-out spark plugs, that can severely impact performance. Additionally, keeping your generator in optimal condition improves its fuel efficiency, reduces emissions, and ensures a steady power supply when you need it most. For RV owners, a poorly maintained generator can lead to interrupted travel plans and added stress, making routine upkeep a must for peace of mind.
Daily Generator Maintenance Checklist
Daily maintenance is your first line of defense in ensuring your generator operates without issues. These tasks are quick, and simple, and can save you from unexpected problems.
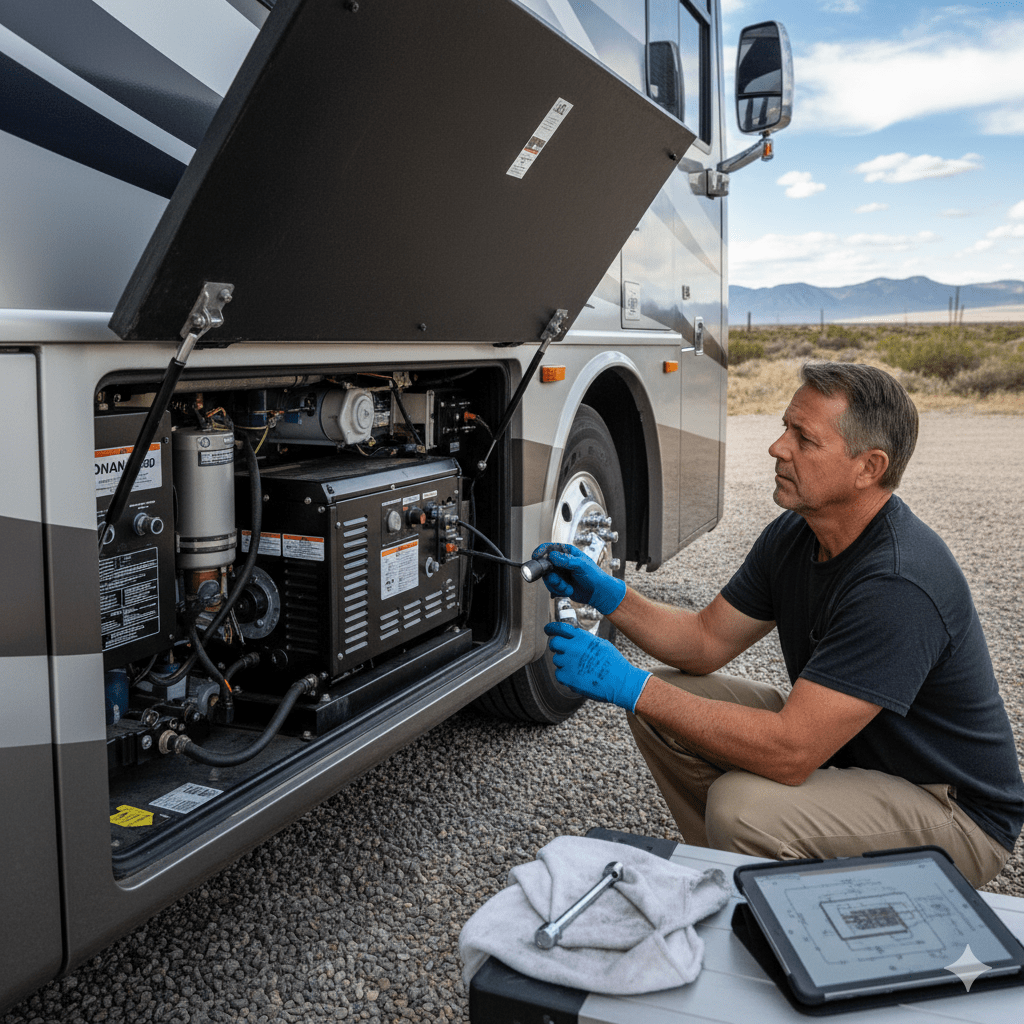
Start each day by inspecting the generator for any visible signs of damage, such as cracks, loose wires, or fluid leaks. Pay close attention to the oil level and top it off as needed, as running the generator with insufficient oil can cause severe engine damage. If your generator uses gasoline or diesel, ensure the fuel is fresh and free of debris or water contamination.
When you start the generator, listen closely for any unusual sounds such as knocking or excessive vibration, as these could indicate mechanical problems. After use, let the generator cool before performing any additional inspections or cleaning. By establishing a habit of daily maintenance, you’ll catch potential issues early, ensuring your generator remains reliable.
Weekly Generator Maintenance Checklist
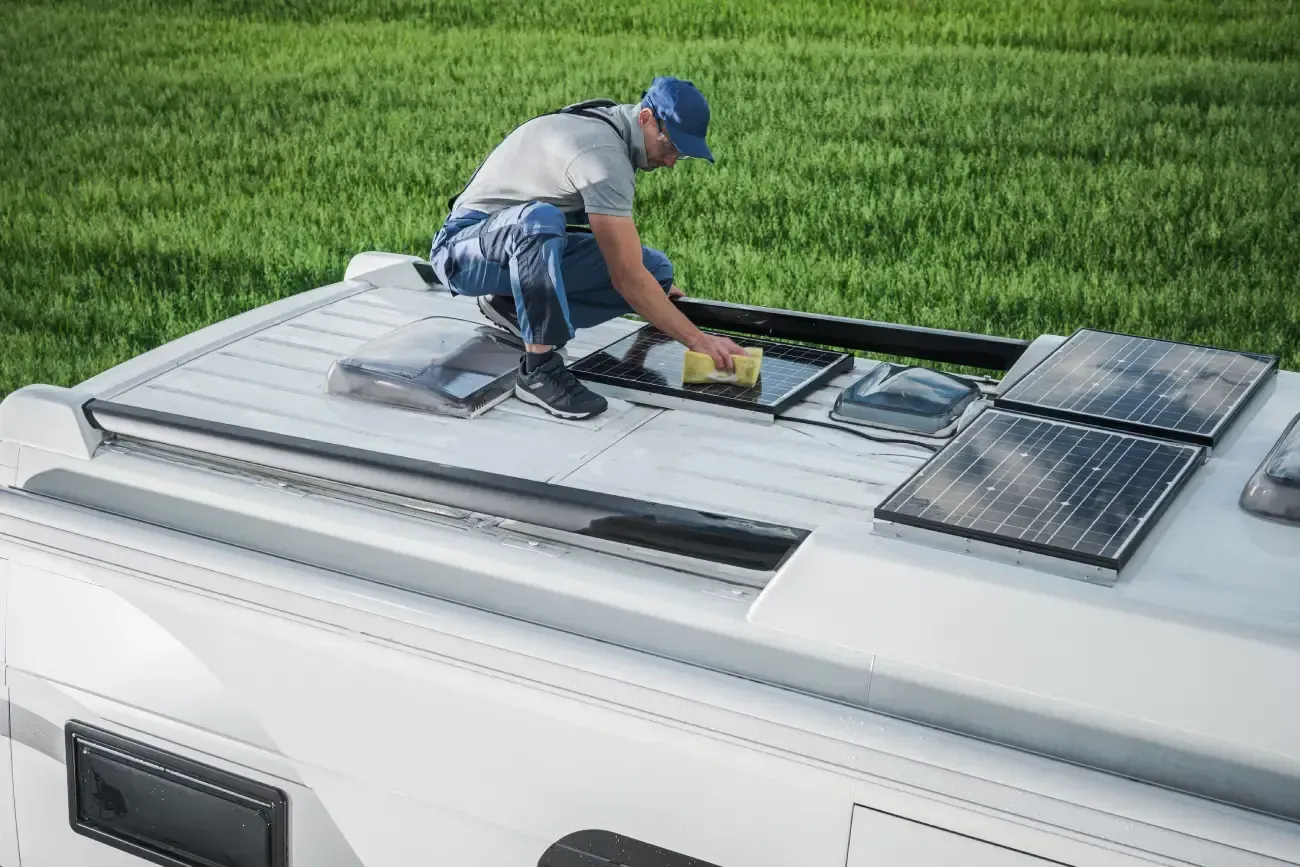
Weekly maintenance is about going a step further than daily checks, focusing on tasks that keep the generator running efficiently over time. Begin by thoroughly cleaning the exterior to remove dirt, dust, and debris. A clean generator not only looks good but also reduces the risk of overheating by improving airflow.
Inspect all nuts, bolts, and screws to ensure they are properly tightened. Vibrations from the engine can cause components to loosen over time, leading to potential breakdowns if not addressed. Test the battery and its connections to ensure a reliable startup every time. Running the generator under load for at least 30 minutes each week is also essential, as it keeps the engine components well-lubricated and prevents moisture buildup in the system.
Monthly Generator Maintenance Checklist
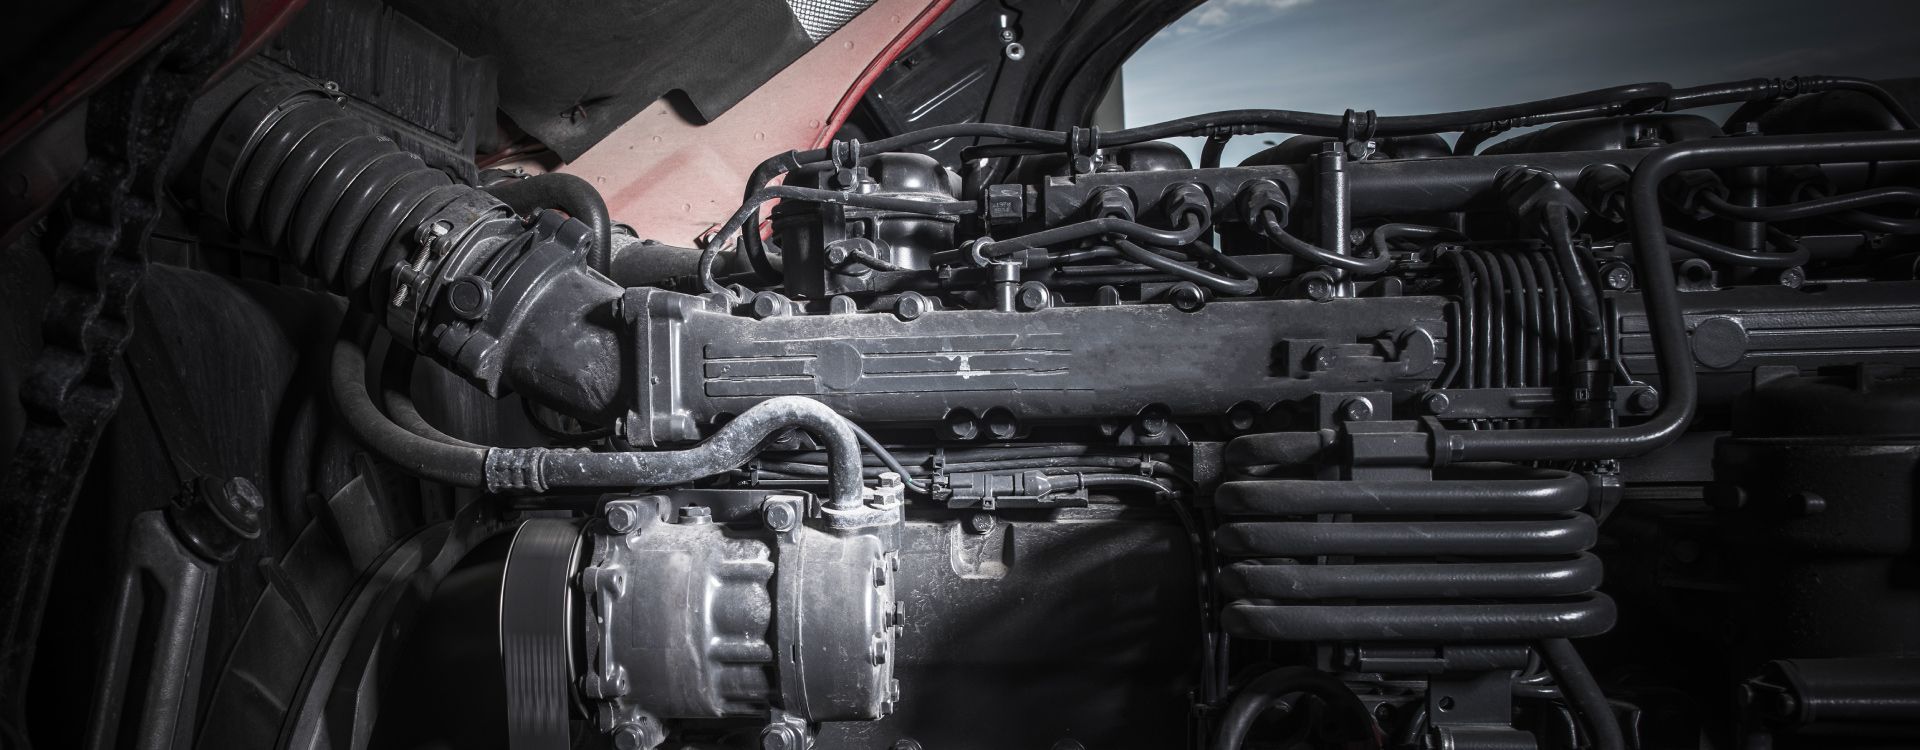
Monthly maintenance dives deeper into the internal components of your generator, ensuring its long-term reliability. One of the most important tasks is inspecting and cleaning the air filter. A clogged air filter restricts airflow, forcing the engine to work harder and reducing overall efficiency. If the filter appears heavily soiled, replace it immediately.
Check the spark plug for signs of wear, carbon deposits, or damage. A faulty spark plug can lead to difficulty starting the generator or poor engine performance. Replace it if necessary. Similarly, examine the fuel and oil filters to ensure they are clean and functioning properly. Replace them as recommended by the manufacturer to avoid clogs that can reduce performance or damage internal components.
Also, take the time to inspect the fuel system for leaks, corrosion, or other signs of wear. A small issue with the fuel system can quickly escalate into a larger problem, so addressing it early is crucial.
Annual Generator Maintenance Checklist
Annual maintenance is an opportunity to perform a comprehensive inspection of your generator and address any issues that may have developed over the year. Start with an oil and filter change, even if the generator hasn’t been used frequently. Old oil contains contaminants that can degrade the engine’s performance, and fresh oil ensures smooth operation.
Flush the fuel system and replace any remaining old fuel with a stabilizer-treated supply. This helps prevent gumming or blockages that can impede performance. Inspect the cooling system, clean the radiator, and refill the coolant if needed to avoid overheating. Additionally, test all electrical connections and circuit breakers to ensure they are functioning properly.
Annual maintenance is also an ideal time to consult a professional for a thorough checkup. An expert can identify hidden issues and make necessary adjustments to keep your generator operating at peak efficiency.
Generator Maintenance Kits
Generator maintenance kits are a convenient and cost-effective way to ensure you have all the necessary tools and replacement parts for routine upkeep. These kits typically include items like oil filters, air filters, spark plugs, and fuel stabilizers, all designed specifically for your generator model.
Using a maintenance kit simplifies the process, allowing you to complete tasks more quickly and with confidence. By investing in a quality kit, you can avoid the hassle of sourcing individual components and ensure you’re always prepared for scheduled maintenance.
Expert Tips for Generator Maintenance
- Run the Generator Regularly: Even if you’re not using your generator, run it under load for 20–30 minutes each month. This prevents fuel from going stale and keeps internal components lubricated.
- Store Fuel Correctly: Use only high-quality fuel and store it in a clean, dry location. If storing the generator for an extended period, add a fuel stabilizer or drain the fuel system completely.
- Use Manufacturer-Approved Parts: When replacing components like spark plugs or filters, always use the parts recommended by the manufacturer to ensure compatibility and performance.
- Keep the Generator Covered: Protect your generator from the elements by storing it in a clean, dry, and well-ventilated area. Exposure to moisture and extreme temperatures can lead to rust and other damage.
- Consult a Professional: For complex repairs or diagnostics, trust a qualified technician to handle the work. Attempting to fix major issues on your own can lead to further damage and higher repair costs.
How Weather Conditions Affect Your Generator
Weather affects how your generator performs and how you should maintain it. Generators are designed to operate in a variety of conditions, but extreme temperatures and moisture can present unique challenges. In cold weather, starting your generator can be more difficult because low temperatures affect the oil’s viscosity, making it harder for the engine to turn over. To counter this, use winter-grade oil that remains fluid in freezing conditions. If you’re operating the generator outdoors, ensure it’s shielded from snow and ice buildup by using a weatherproof enclosure. Running your generator periodically during cold months can also prevent the battery from draining and keep the internal components lubricated.
Hot weather brings its own challenges, primarily related to overheating. High temperatures can cause the generator’s cooling system to work harder, leading to increased wear on components. To keep your generator running smoothly in hot weather, ensure the cooling system is clean and functioning properly. Avoid placing the generator in direct sunlight, as this can exacerbate overheating. Instead, use a shaded or well-ventilated area for operation.
Moisture from rain or high humidity can damage your generator’s electrical components, leading to short circuits or corrosion. Always protect your generator with a weatherproof cover or run it in a sheltered area that still allows proper ventilation. If your generator becomes wet, dry it thoroughly before attempting to start it to avoid further damage. Adapting your maintenance routine to account for weather conditions will help you avoid unnecessary wear and tear and ensure reliable performance in any environment.
Contact Mainline RV & Truck Service for Onan Generator Repairs and More
Maintaining your generator doesn’t have to be a challenge. If you need expert assistance, it’s time to contact
Mainline RV & Truck Service. Our technicians can handle every aspect of your Onan generator repair and maintenance, ensuring your generator stays in top condition. From routine checkups to complex repairs, we provide reliable and professional services for your generator.
Get in touch with us
to learn more and schedule an appointment for repairs.
Contact Us