Your Guide to Basic RV Repairs

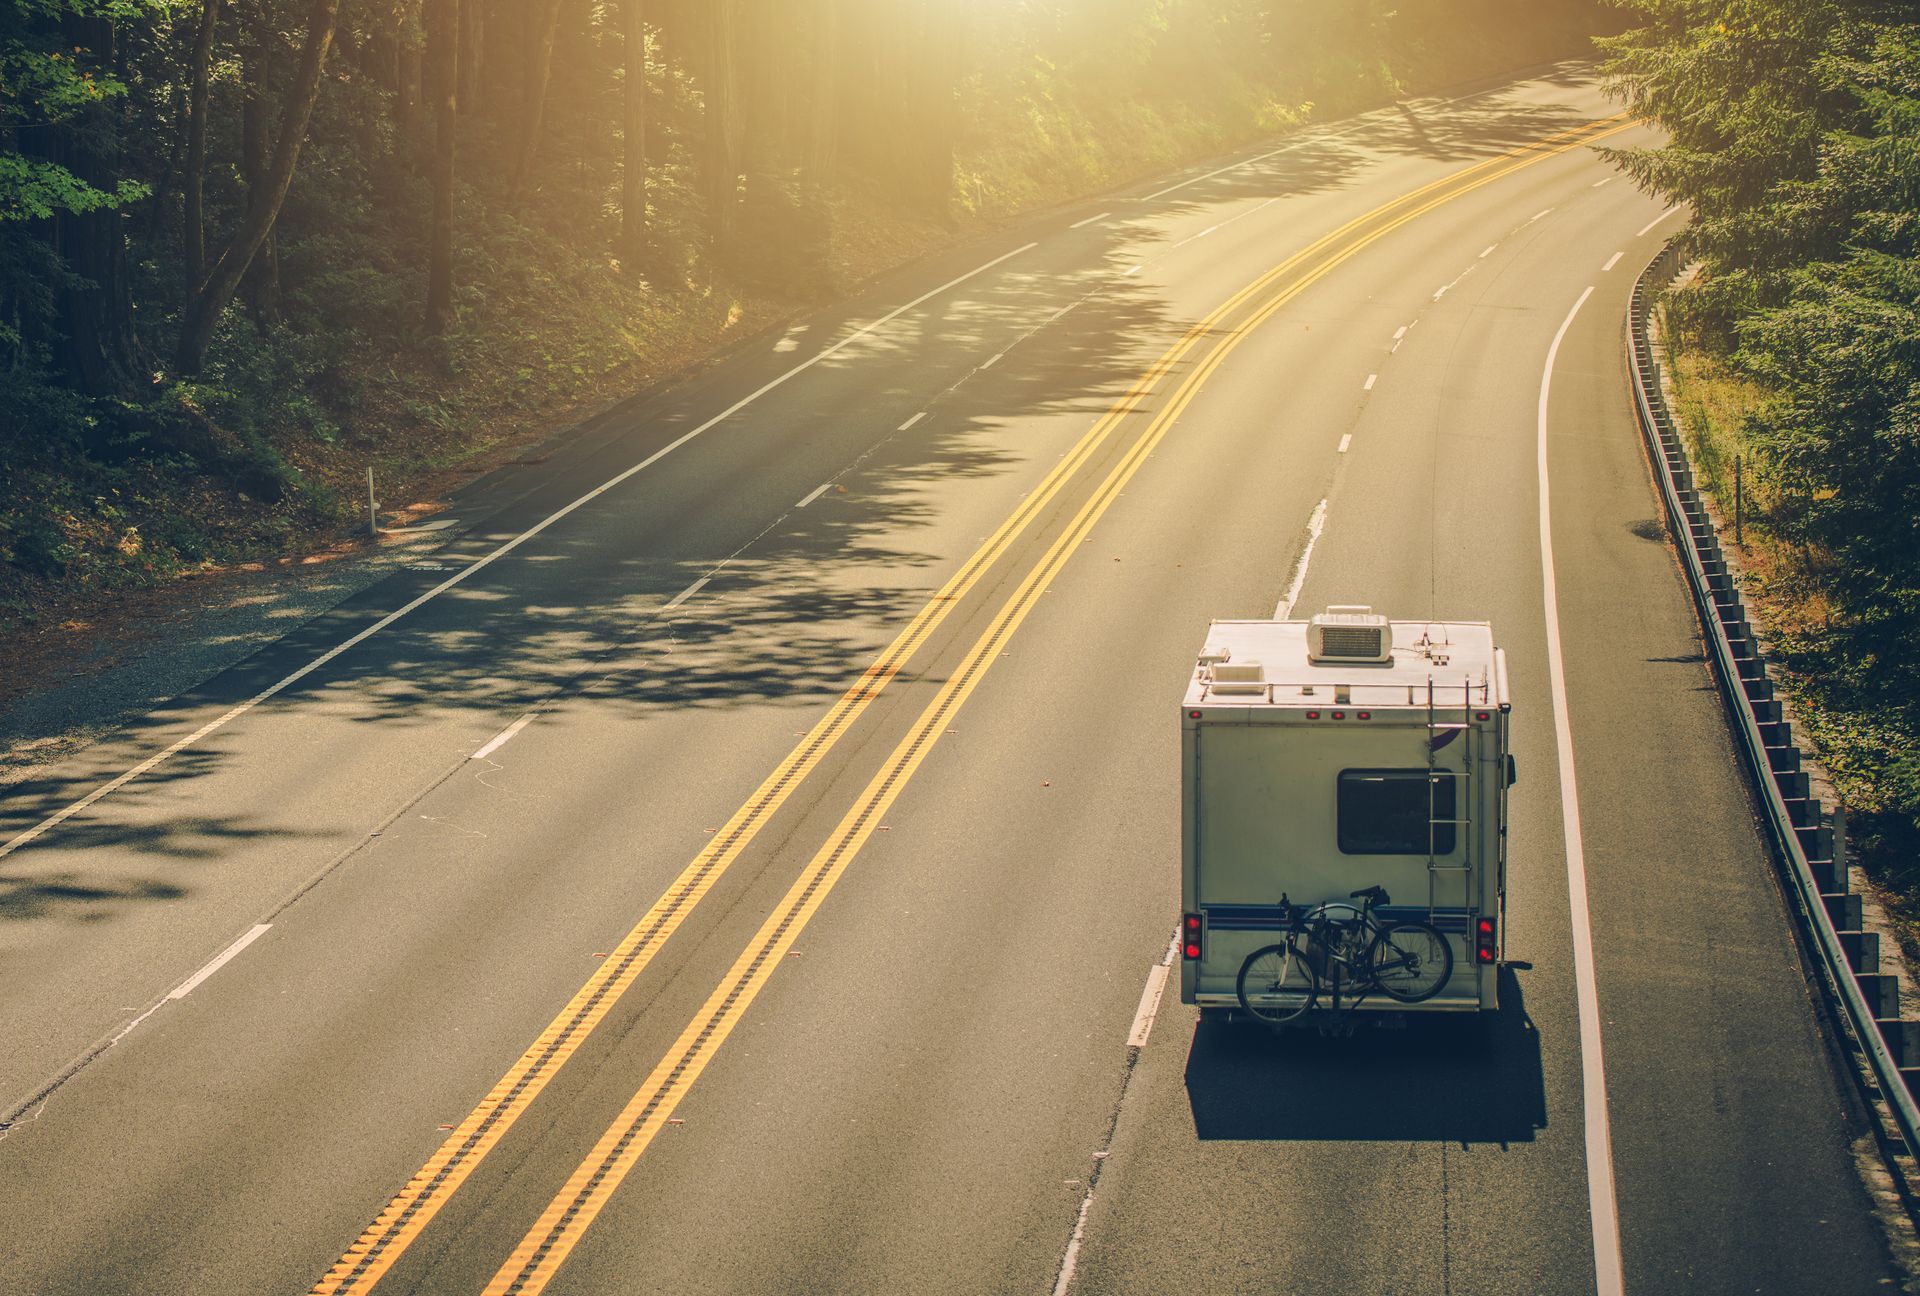
There are few joys quite like owning your own RV or motorhome. The entire continent is yours to explore, in your home-away-from-home... or maybe even your favorite home! However, RVs are extremely complicated machines, and there's a lot that can go wrong. Whenever your RV has technical or mechanical issues, they need to be taken care of as soon as possible before your next major trip.
Of course, if you have any issues, you can always visit your friendly Ohio RV repair shop to get your RV fixed up. However, in many cases, you can potentially do the repairs yourself and save some money! So in this guide, we'll talk about some of the most common repair/maintenance issues for RVs and motorhomes, and which jobs are suitable for DIY.
I. Necessary Equipment
If you want to handle basic repairs and maintenance yourself, you're going to need a pretty substantial toolbox on hand. Fortunately, your RV should have plenty of storage space. These are the the most important items to keep in the RV, or in your home garage, to make repairs feasible.
· Basic tools. Of course, you'll need your usual selection of screwdrivers, pliers, hammers, wrenches, and so on. It's also a good idea to have some power tools like cordless drills/screwdrivers to make the job easier.
· Basic spare parts. Always keep some extra nuts, bolts, screws, washers, etc, on-hand for quick replacements. You also want to keep spares for easily damaged components such as your lights, filters, and belts.
· Plumbing tools. RV plumbing systems are typically a bit flaky, so you absolutely need to keep plumbing supplies around. At a minimum you want a plunger, pipe wrench, and waterproof tape to handle basic repairs if the plumbing acts up while you're on the road.
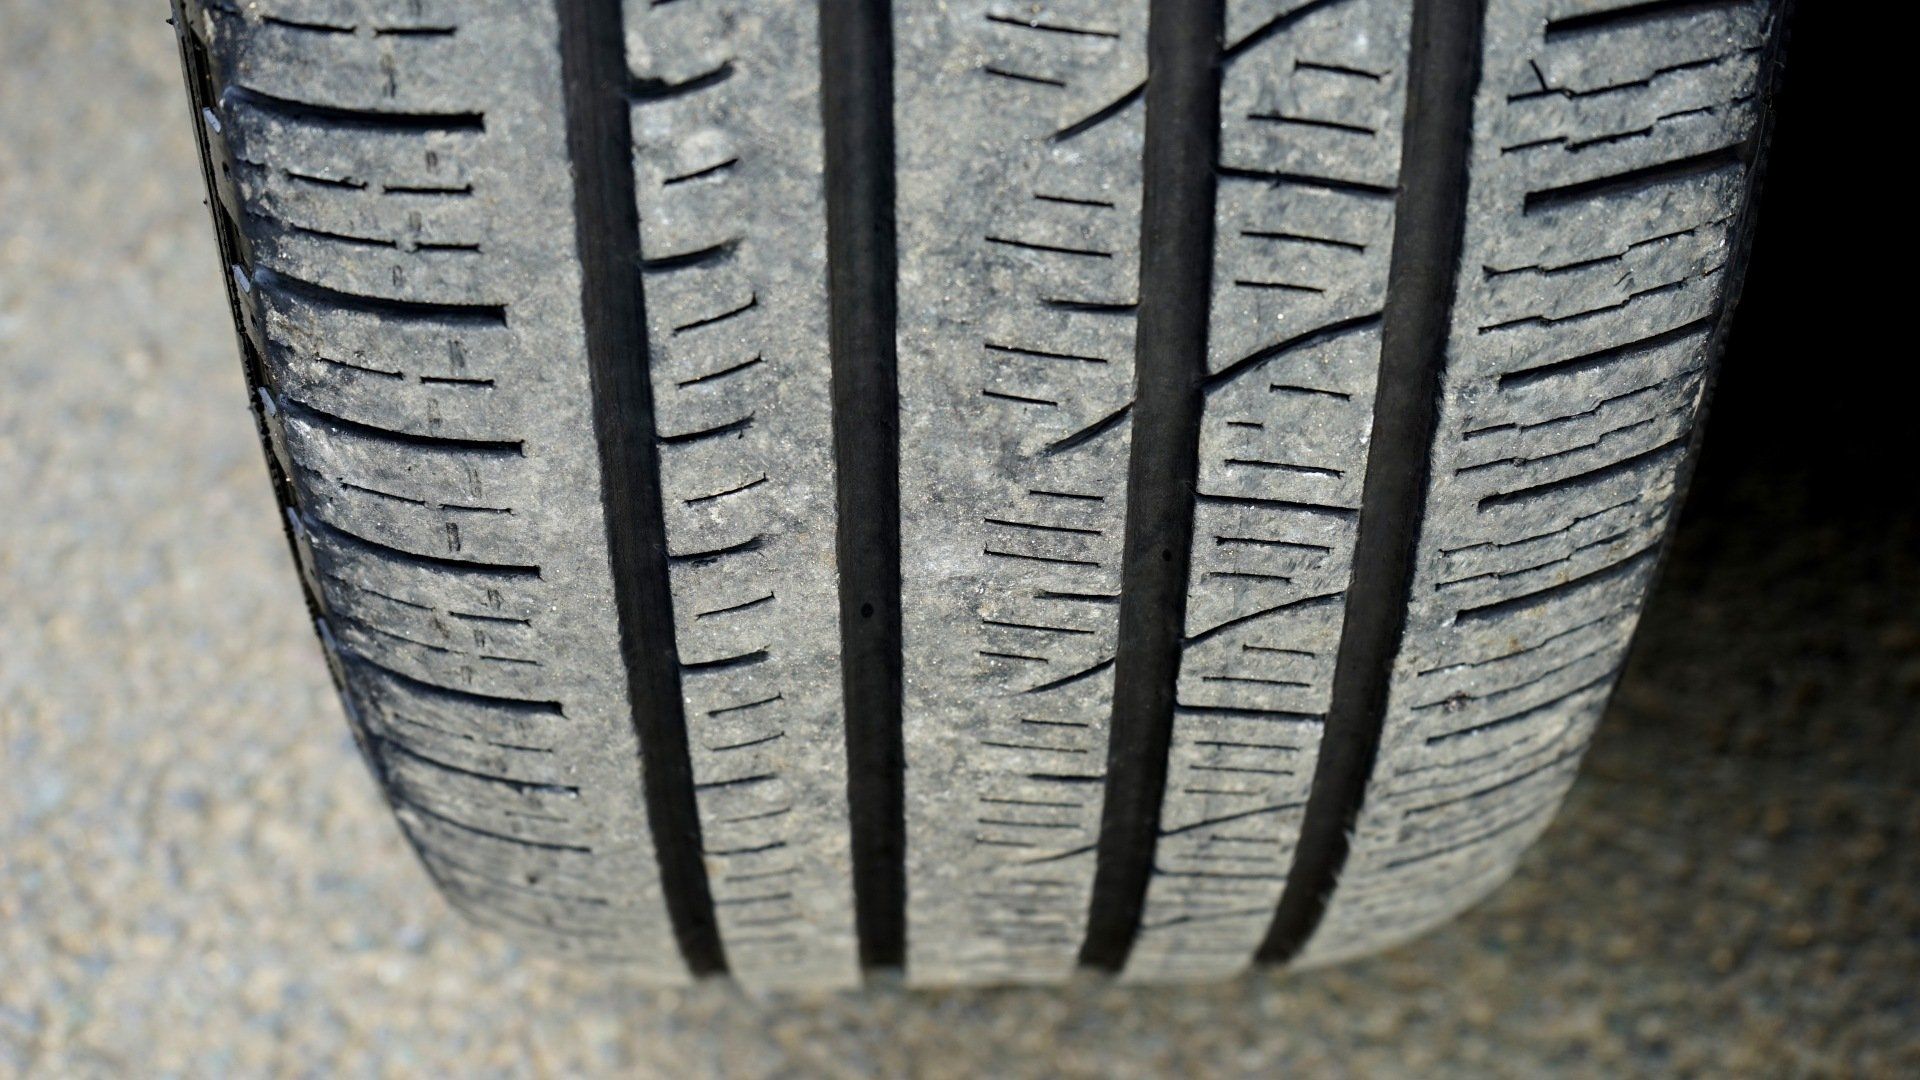
· Tire tools. Just like with a regular car, you need supplies for changing and maintaining your tires. This includes pressure gauges, a jack, lug wrenches, leveling blocks, and some kind of tire patching kit like a can of "Fix a Flat."
· Electrical tools. If you're thinking about working on your RV's electrical system - which honestly isn't a great idea - you'll need supplies such as wire strippers, crimping tools, electrical tape, and a multimeter. Plus, plenty of spare wires.
· Safety equipment. Don't forget to protect yourself! You'll need gloves, safety glasses, a fire extinguisher, and some warning triangles and/or flares for any roadside emergency stops.
· Extra equipment. If you have extra cash to spare, we'd also recommend buying a portable power generator, a portable air compressor, and an OBD2 scanner to interface with your RV's computer for information and "check engine" diagnosis. But, this might be starting to get beyond most DIY capabilities.
Yeah, it's a lot - but all this kit makes it far more likely you'll be able to handle minor maintenance and repairs, especially if they happen while you're on the road. Just keep in mind, that a single long-distance tow to an RV repair shop could cost as much as most of these tools.
II. Dealing With Common RV Repair Needs
So, now let's briefly cover some of the most common ways an RV can break down, and which elements you could potentially repair yourself.
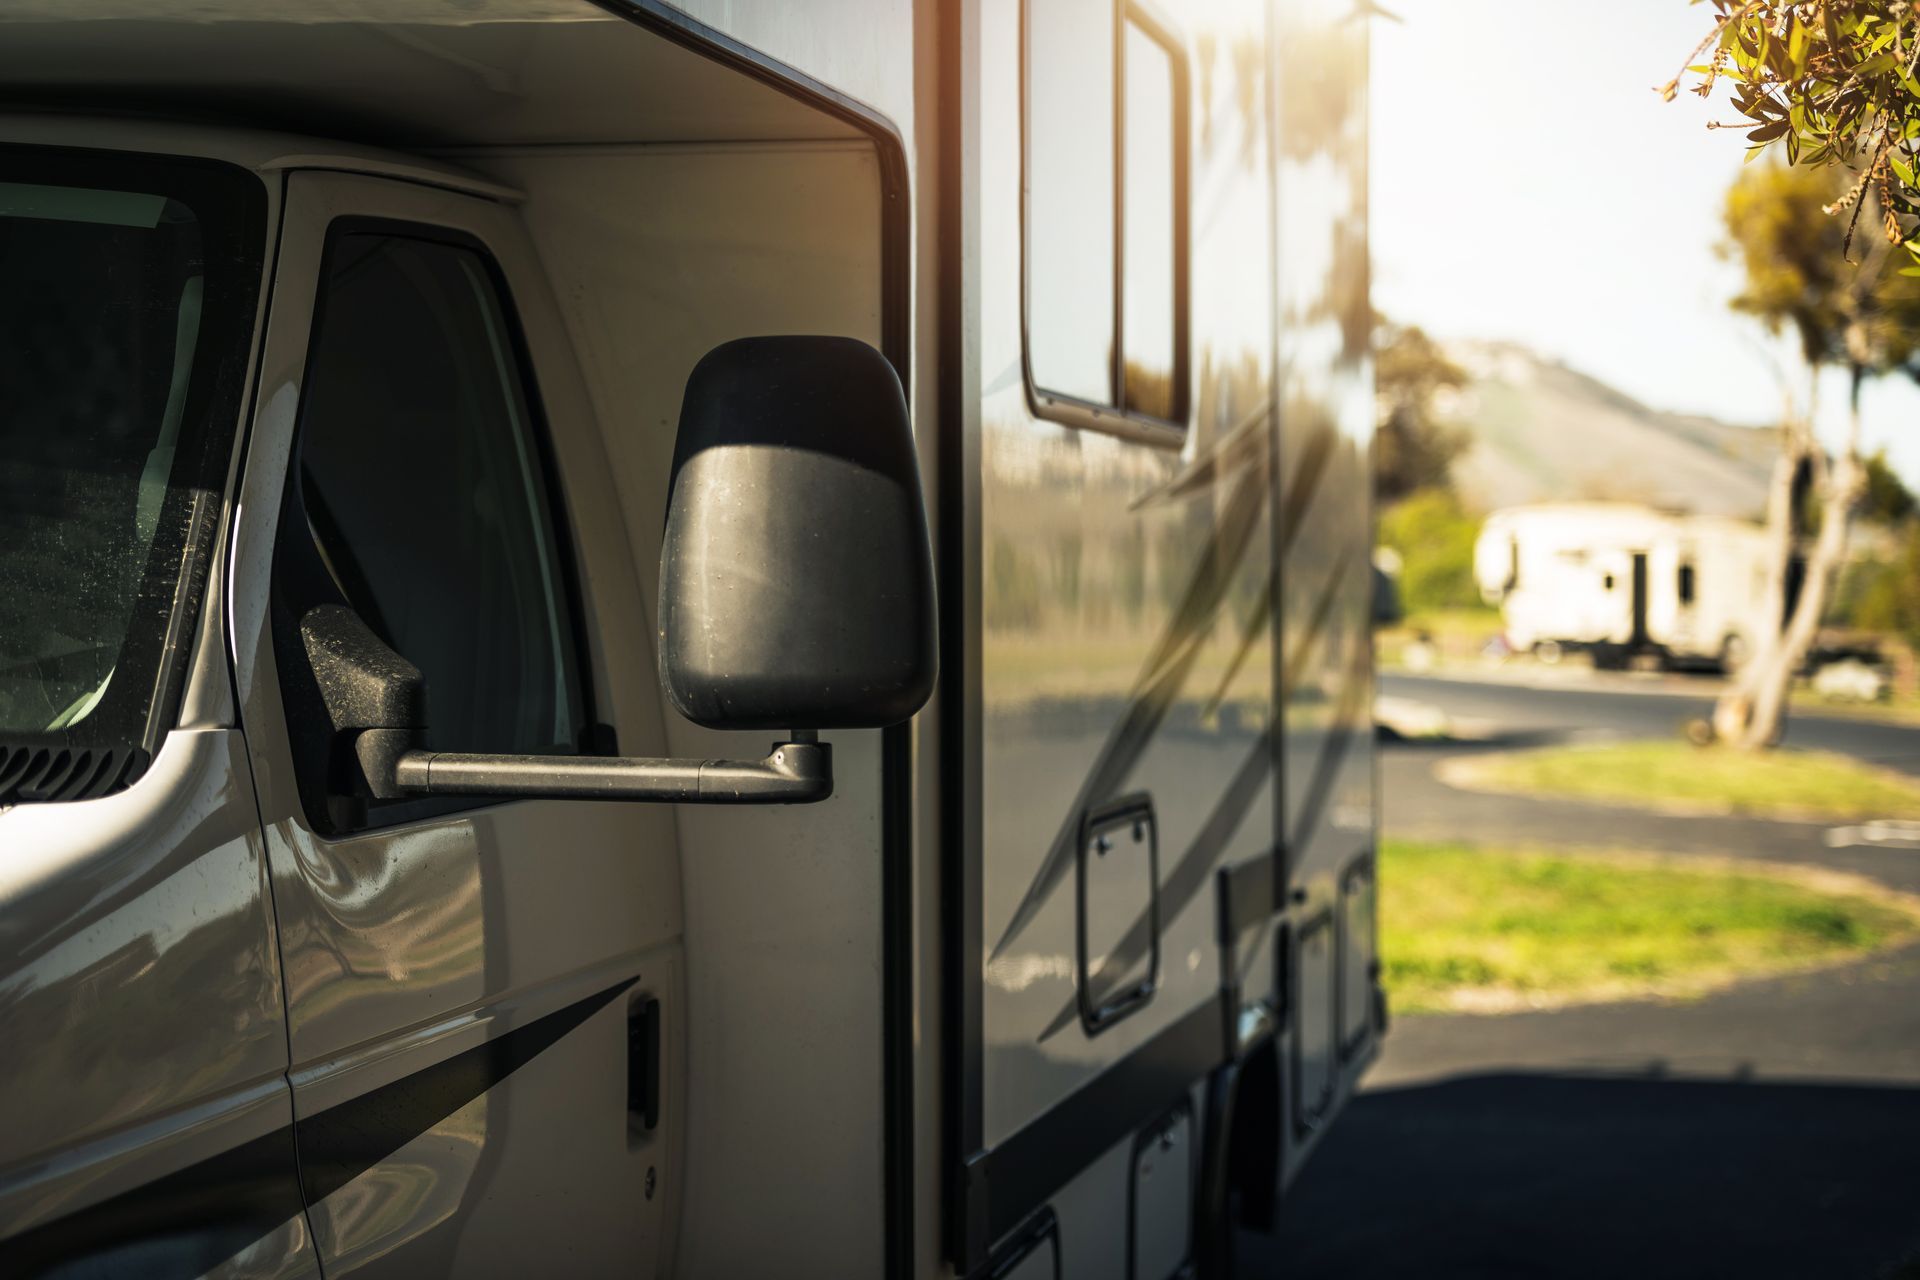
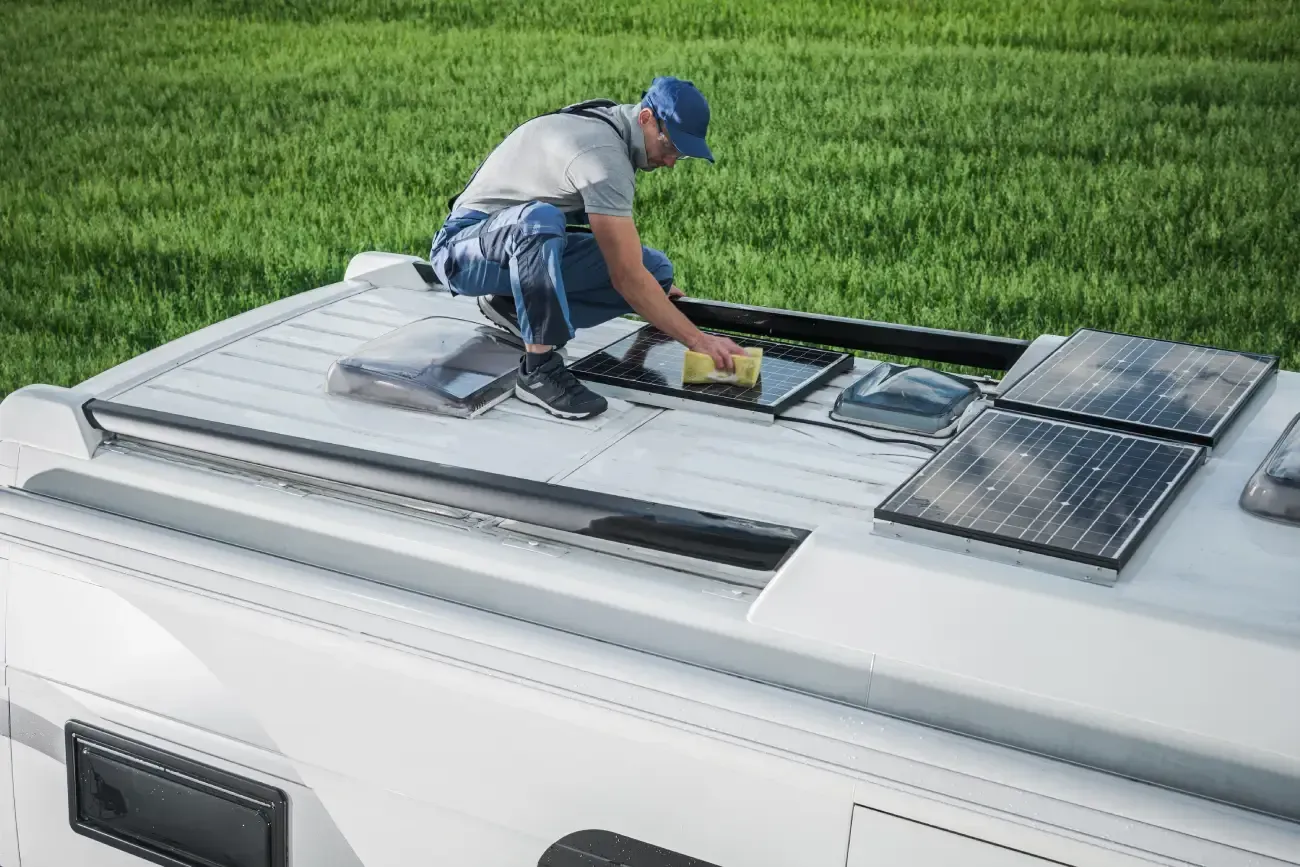
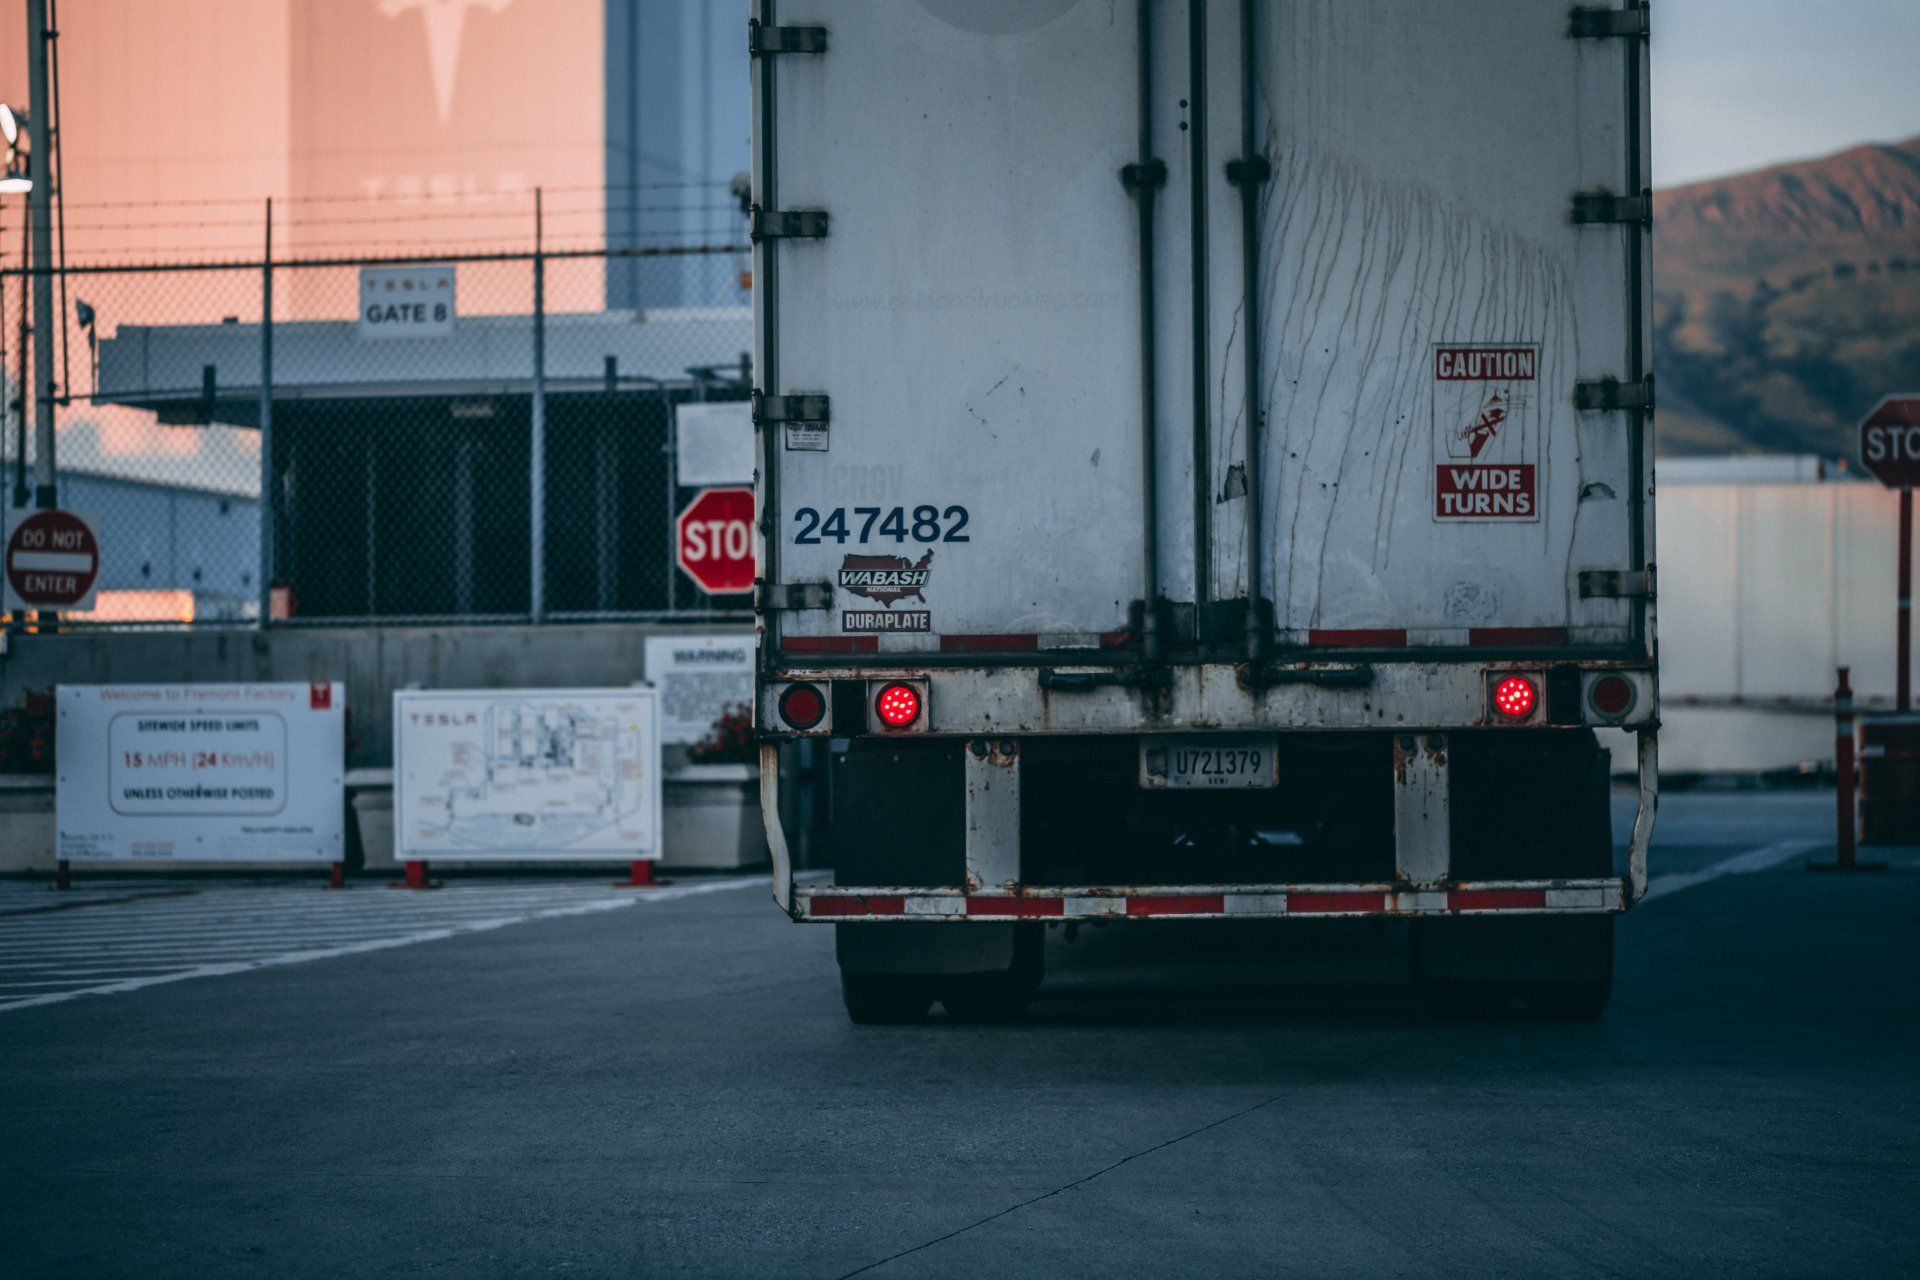
1 - Exterior Repairs
The exterior of RVs and motorhomes tend to get damaged more than cars and light trucks, although part of that is just due to how much surface area they have. In particular, it's very easy for the roof to become damaged by weather and debris, and get overlooked.
For starters, we highly recommend storing your RV in a covered - and if possible heated - garage whenever it's not in use. This will greatly cut down on its chances of becoming damaged in between trips.
You should inspect the exterior of your motorhome at least once a month, for signs of damage. Don't allow cracks or leaky areas to go unaddressed. Some waterproof tape or sealing caulk can fill in a lot of minor issues, although they won't maintain your RV's appearance. Larger exterior damage will have to be fixed at an RV repair shop.
Finally, we strongly recommend apply a new coat of sealant to your RV, especially the roof, once a year. This will help maintain its waterproofing, and can also seal up tiny cracks that might escape notice while still allowing water in.
2 - Interior Repairs
Most interior issues with RVs are similar to repair issues you might have in a home, such as fading plastics, or stains in the upholstery. Be sure to clean up any stains and spills as soon as you can! Otherwise, they could attract pest like ants, or other unwanted critters.
If you have leather seats in your RV, you should have seat covers to protect them when not in use, especially if they'll be in direct sunlight. Long-term sunlight exposure will quickly cause leather to start fading, and then cracking. Fading can be handled with leather treatment, but if it starts cracking, you'll have to get the seats re-upholstered.
Also, watch out for signs of water damage. If you see water stains, or moisture where it shouldn't be, that's a big clue that there's an external leak somewhere nearby that's letting rain in. Take care of this quickly, otherwise you could get mold and mildew in the damp areas, which can be tricky to get rid of.
3 - Electrical Repairs
First and foremost, unless you are genuinely experienced and comfortable working with electronics, we recommend you do NOT attempt to work on your electrical system. This is typically a job for professionals, or at best amateurs with a lot of experience. The electrical systems in an RV aren't as dangerous as your home electrical system, but a shock could still put a serious hurt on you.
That said, if you have electrical issues, you should at least check the breaker box and make sure the problem isn't a tripped or burned-out breaker. Those are easy to replace. In addition, pull out your multimeter and make sure that the battery is still properly charged. We see a lot of "electrical repair" problems which are actually just a dying battery.
In addition, if you suspect a particular power outlet has gone bad, those can also be relatively easy to fix. Many RVs use clip-together outlet systems which make it simple to swap out the outlet for a new one, with minimal fiddling with the wiring.
Otherwise, though, when in doubt just take your RV to an RV repair shop for professional electrical work. It's not worth the risk of hurting yourself or making things worse.
4 - Plumbing Repairs
Honestly, if you run an RV for long enough, you will have to mess with the plumbing from time to time. Due to all the bouncing and jostling while on the road, it's fairly easy for RV plumbing to get fouled up.
Fortunately, the plumbing system in an RV is going to be very similar to a home's plumbing. If you're comfortable working on your home toilet, you can do basic repairs on an RV's toilet as well.
An RV typically has more filters and traps, so pull out your owner's manual and familiarize yourself with their location. If the problem isn't a standard toilet clog, it's probably an issue with the filters and traps as well. Again, these are typically easy to access, and only need basic plumbing knowledge to fix.
In terms of preventative maintenance, the most important thing to remember is you should never send foreign objects down an RV toilet, or allow food to go down the sink drain. These will clog the system much more quickly than at home. Also, if you’re traveling in extremely cold weather, look into anti-freeze products designed for motorhome and RV plumbing. You don’t want your plumbing or wastewater tank freezing up while on the road!
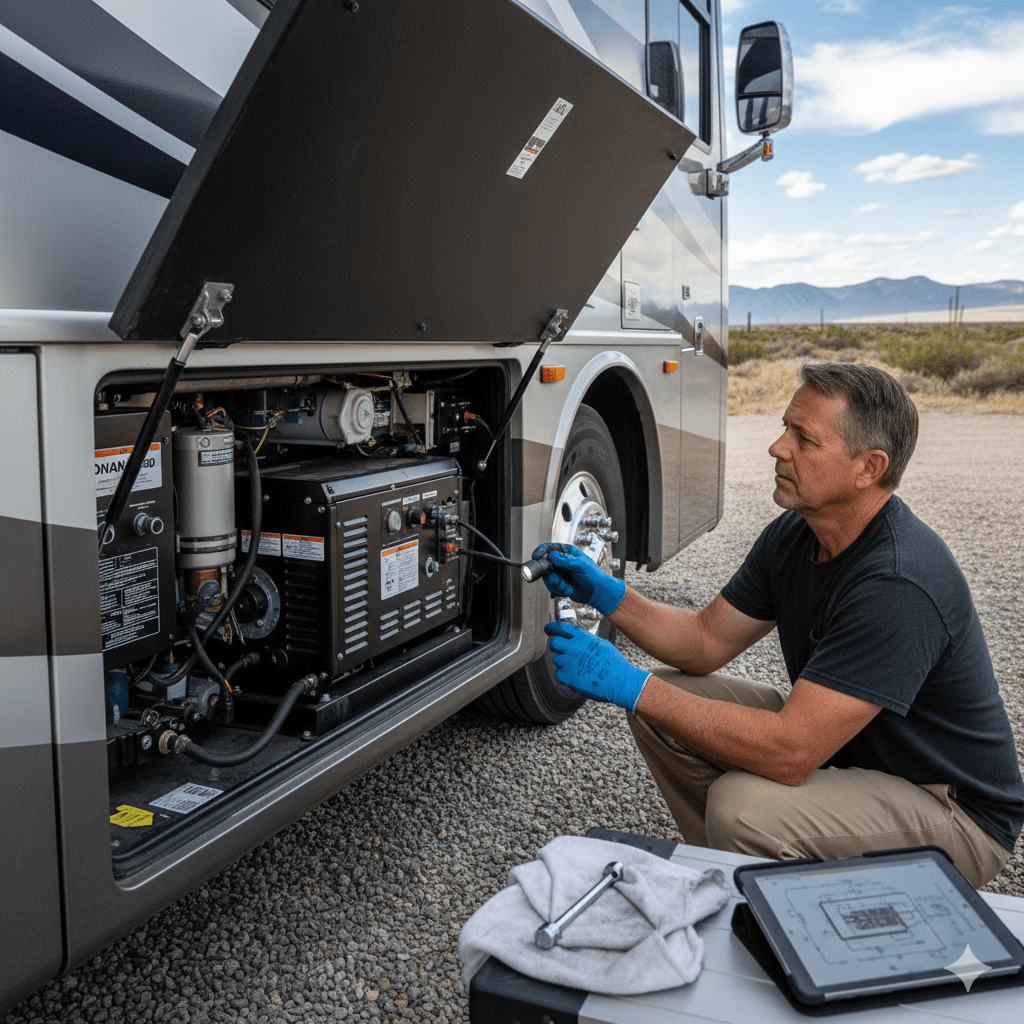
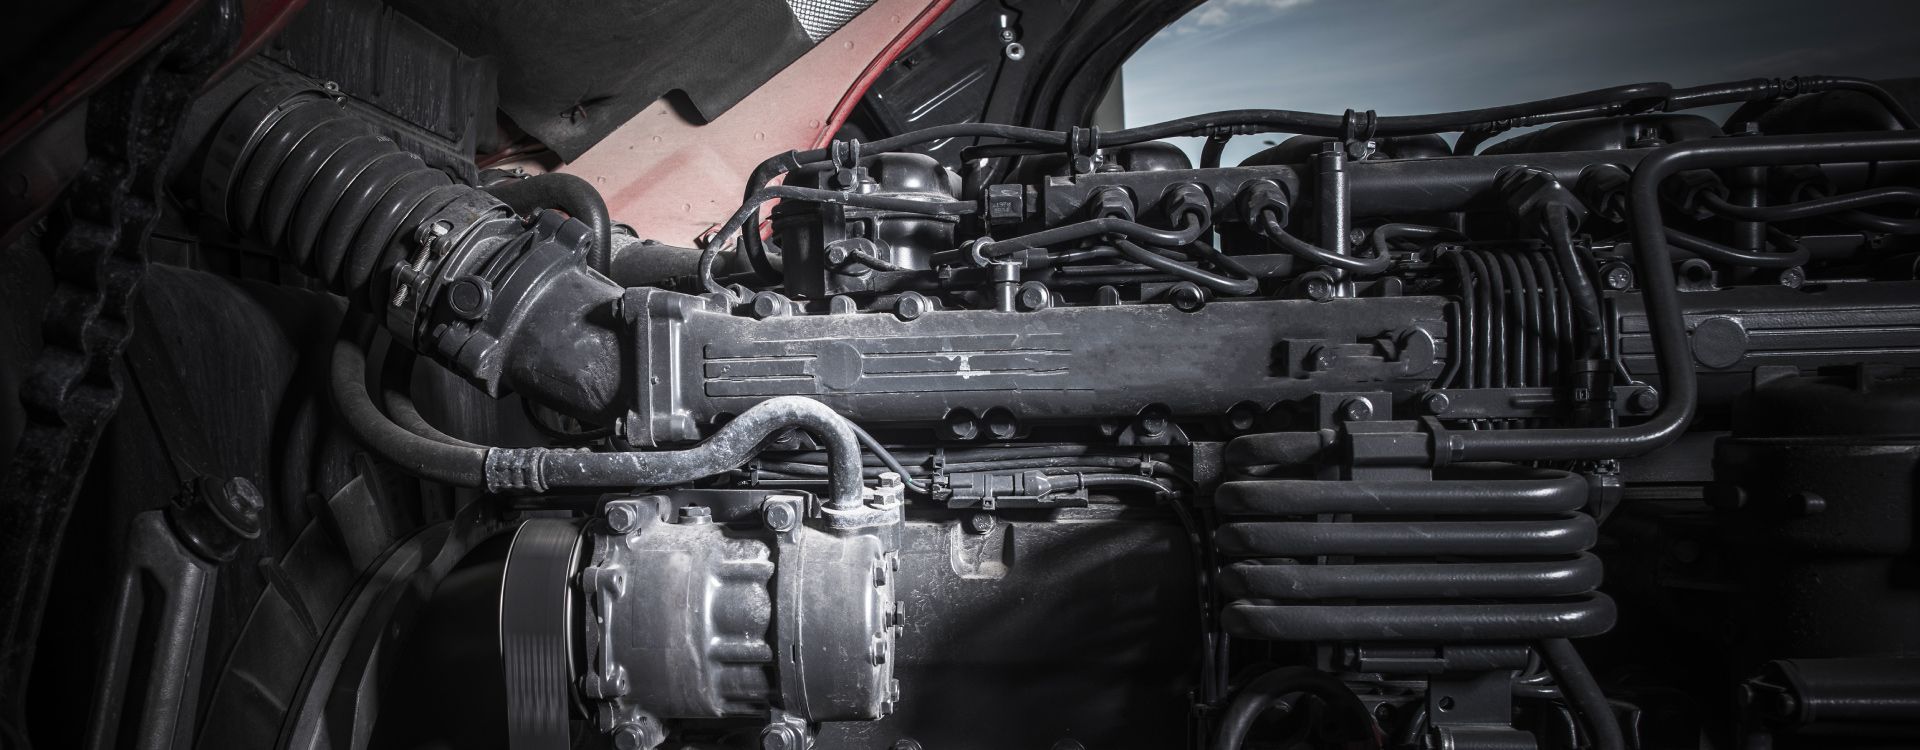
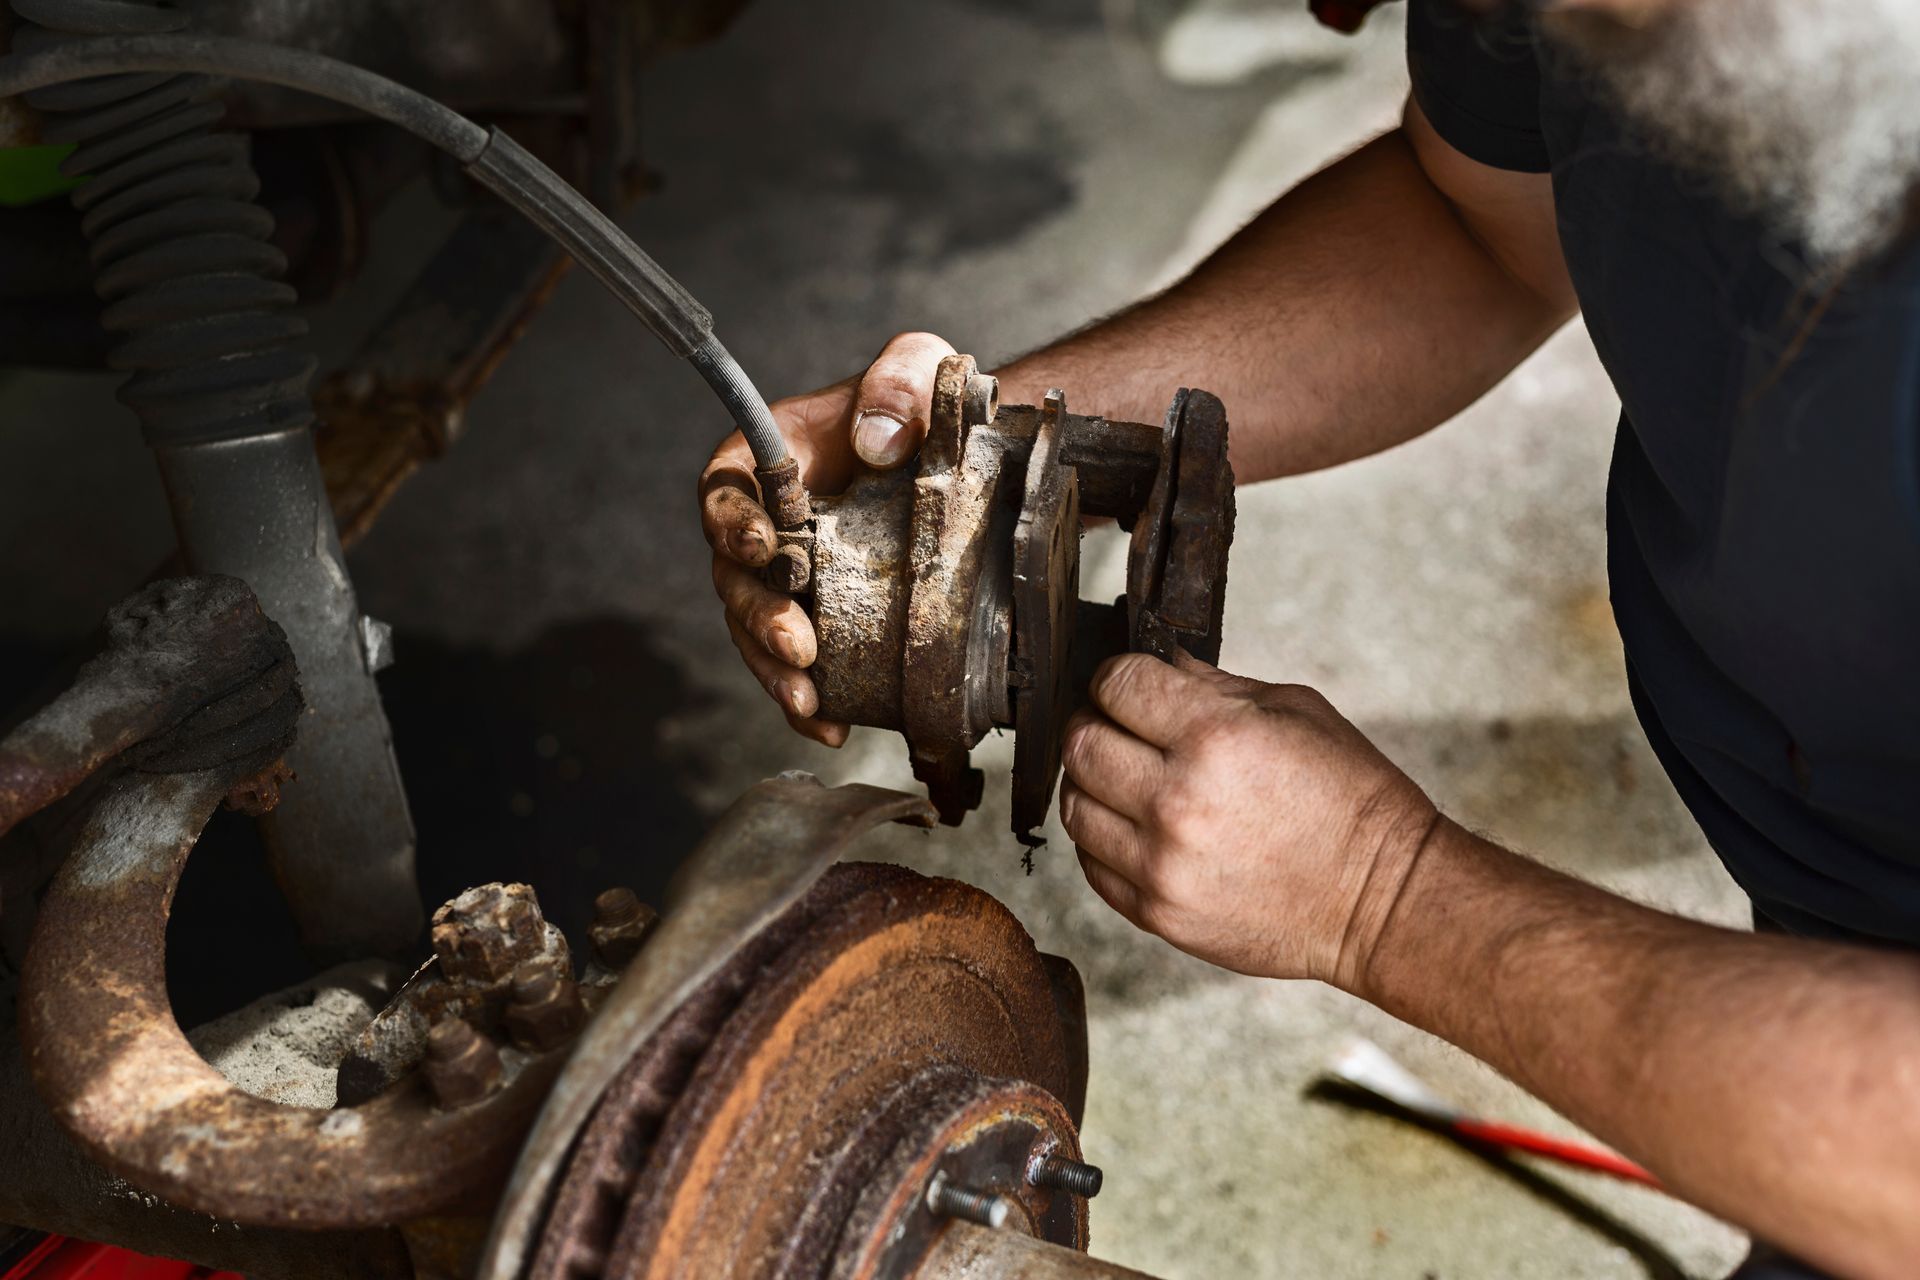
5 - Engine Repairs
Most engine repairs on your vehicle should be handled by an experienced RV repair shop. Please don't assume that experience with standard car engines will translate to RV engines. Even professional car shops struggle with RV engines, unless they have specific training.
The main thing you can do here is just ensure your fluids and filters are all properly maintained. In particular, check your RV’s engine oil more frequently than you check your car’s. And make sure you change the oil and filters based on manufactures recommendations. Remember, your RV will burn through oil much more quickly than a regular car.
Changing your belts is also possible on some models, depending on how accessible they are. If it's designed for easy belt replacement, it shouldn't be much more difficult than a regular car. However, if the belt is buried in the middle of the engine, don't try to dig it out. Leave that to the pros.
When In Doubt, Come To Mainline RV & Truck Service!
OK, we realize a lot of the repair and maintenance items we listed are beyond many RV owner capabilities. Don’t feel bad. We’re here to help.
Mainline is your #1 source for motorhome and RV repairs in Ohio. Drivers come from all across the state to visit our Cleveland shop, thanks to the impeccable reputation we've grown through years for our excellent service. No matter if you need parts and accessories, inspections, or major repairs, Mainline RV is your one-stop shop.
Need help? Click here to schedule a service visit!
Contact Us